Hey there! Here is a simple, fun, recycled project that you can take your own spin to. If you're a crafty on the daily type person like me you probably have stacks of papers just laying around (neatly filed away). If not, you can find all the things you need around the house! Think magazines, old homework, brown paper bags, wrapping paper..

leftover papers from another fun project, Recycled Book Project: Hollowed Book Safe
... After scavanging for papers, we will find our favorite envelope shape. This one is from Staples. It holds a half sheet of paper folded nicely and most photos... but any will do so long as your papers are big enough. Simply undo the glued edge as best you can. I used a razor so no ripping would occur and I have a nice template to work with.

Basic quarter page envelope size, my favorite for greeting cards.
Next, you will want to have a pen, pencil, or crayon to trace your envelope shape. I prefer a writing utensil with the least amount of residue, like a BIC pen. You want to keep your stationary clean!

Using a Bic pen I trace the envelope shape on my paper. I line up two sides to make things easier.
Then, with a sharp pair of scissors cut along the line you created.

Cutting the envelope shape
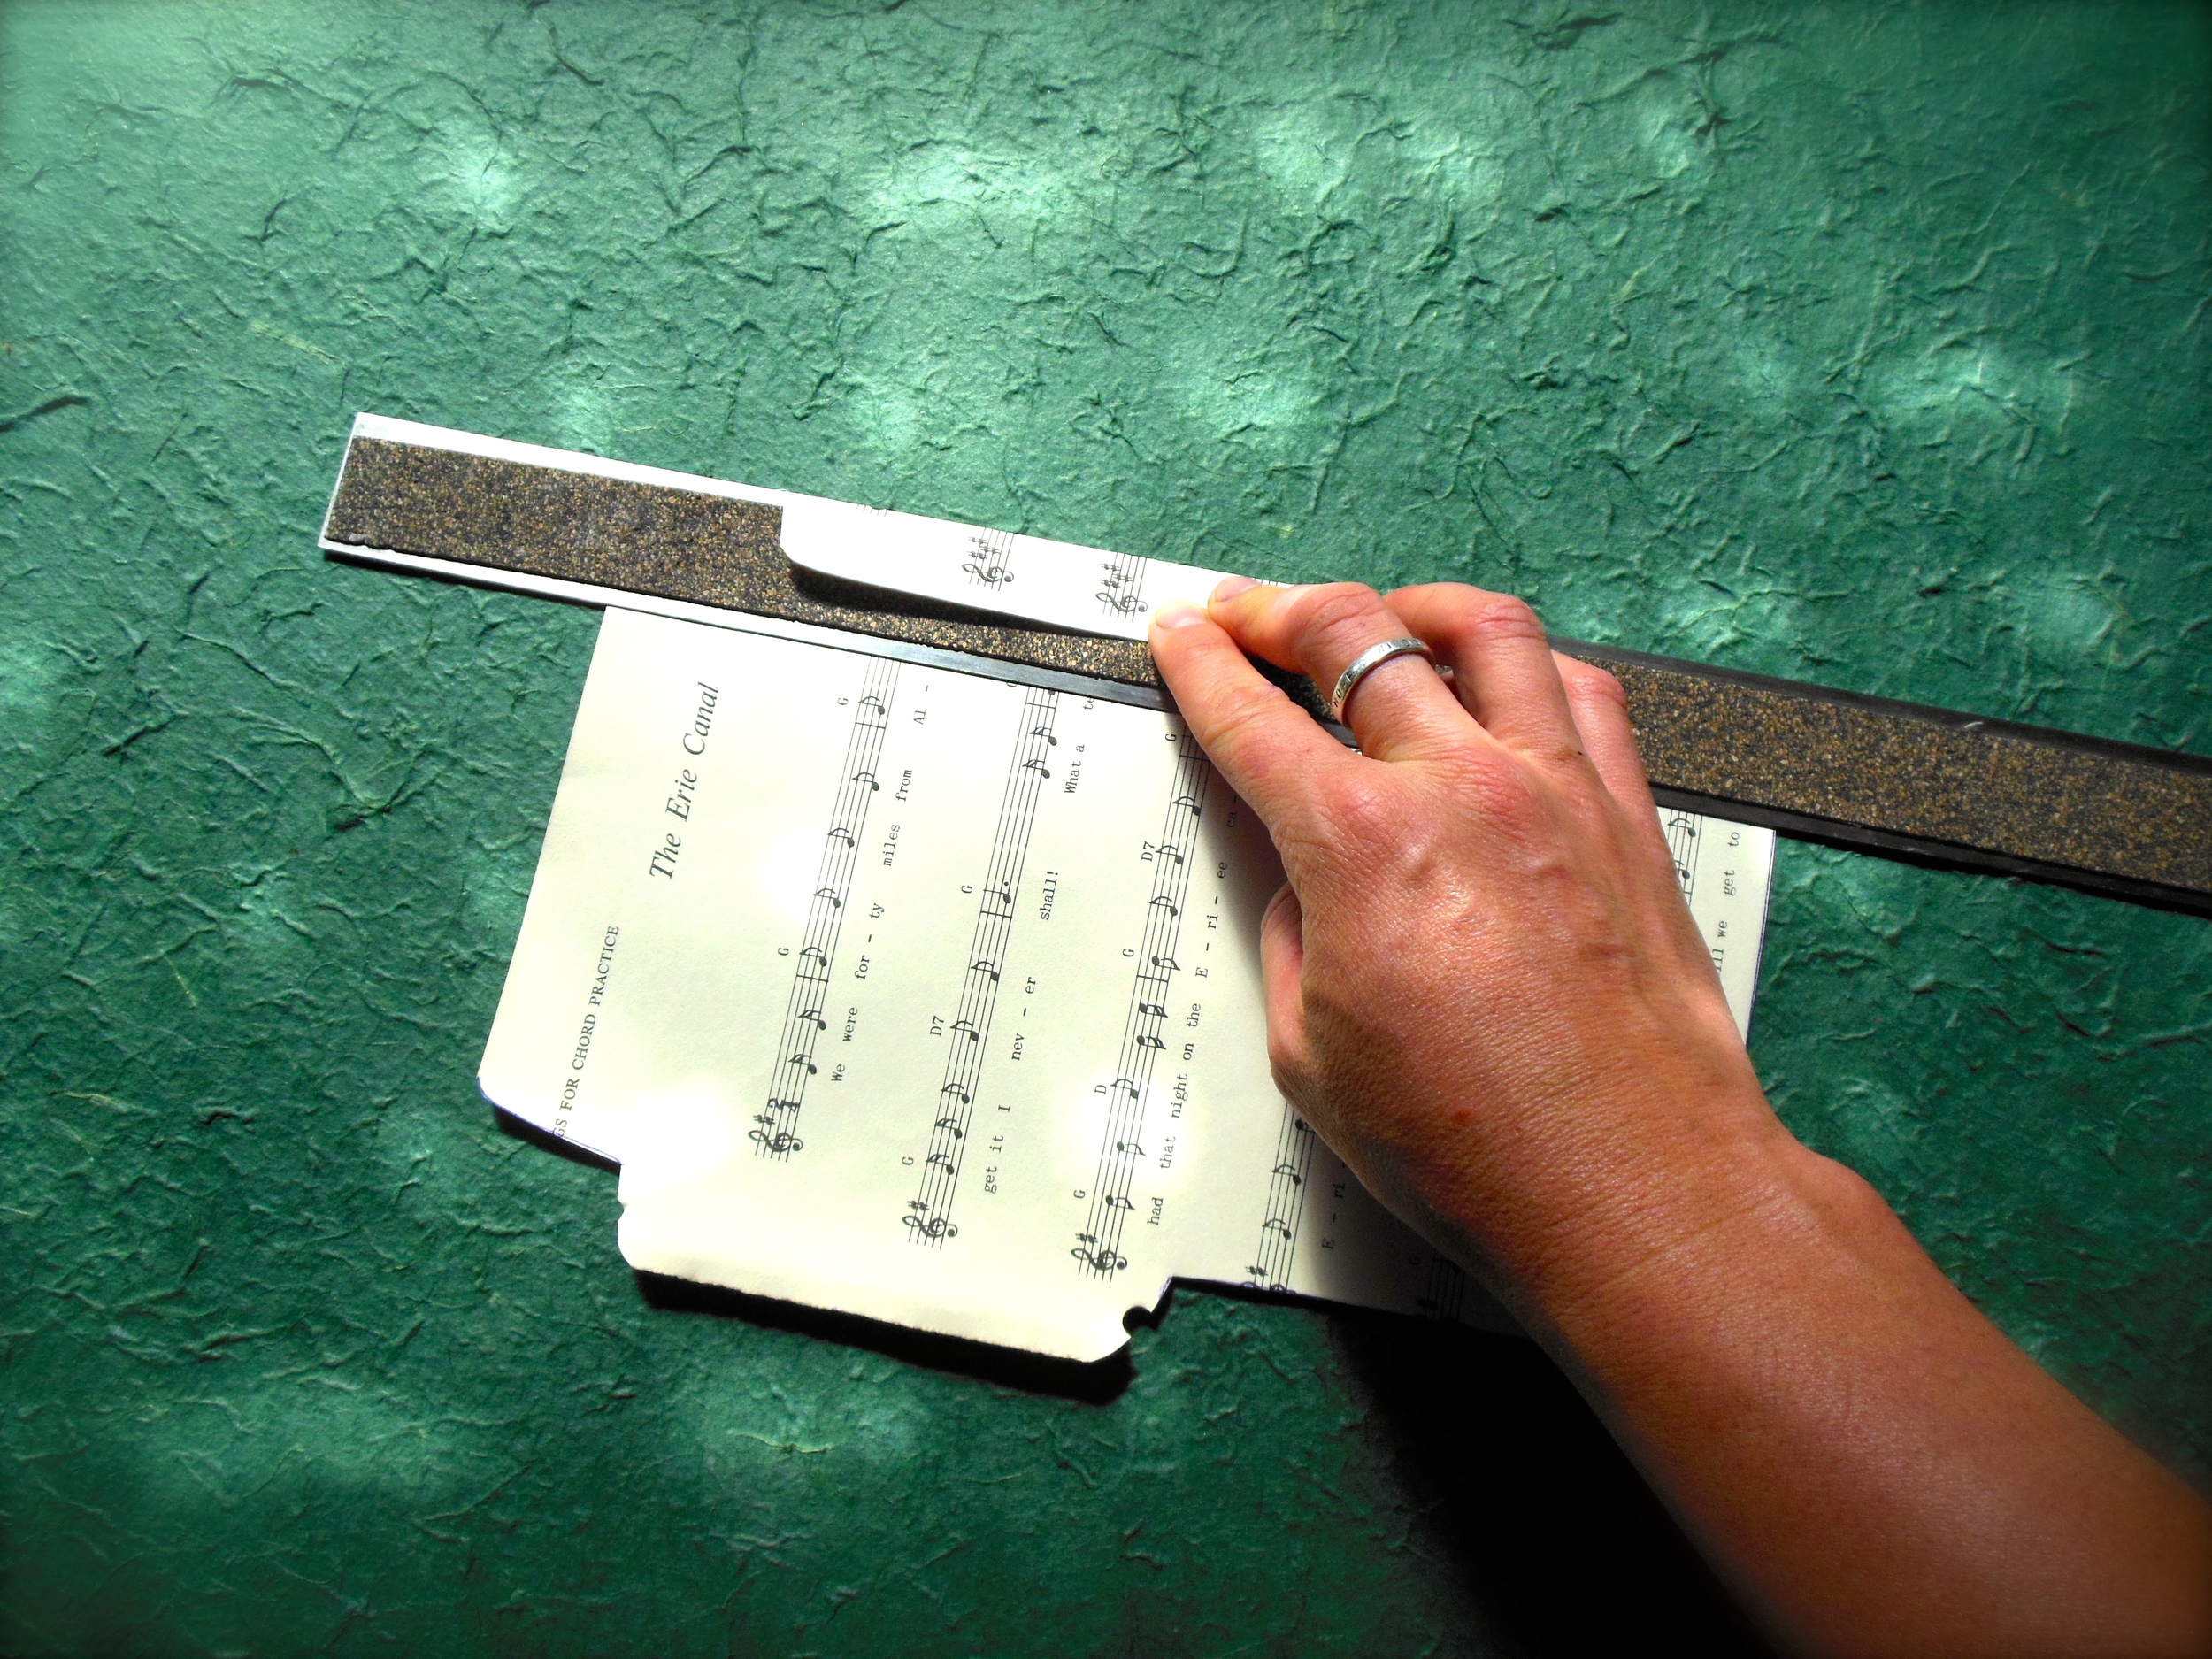
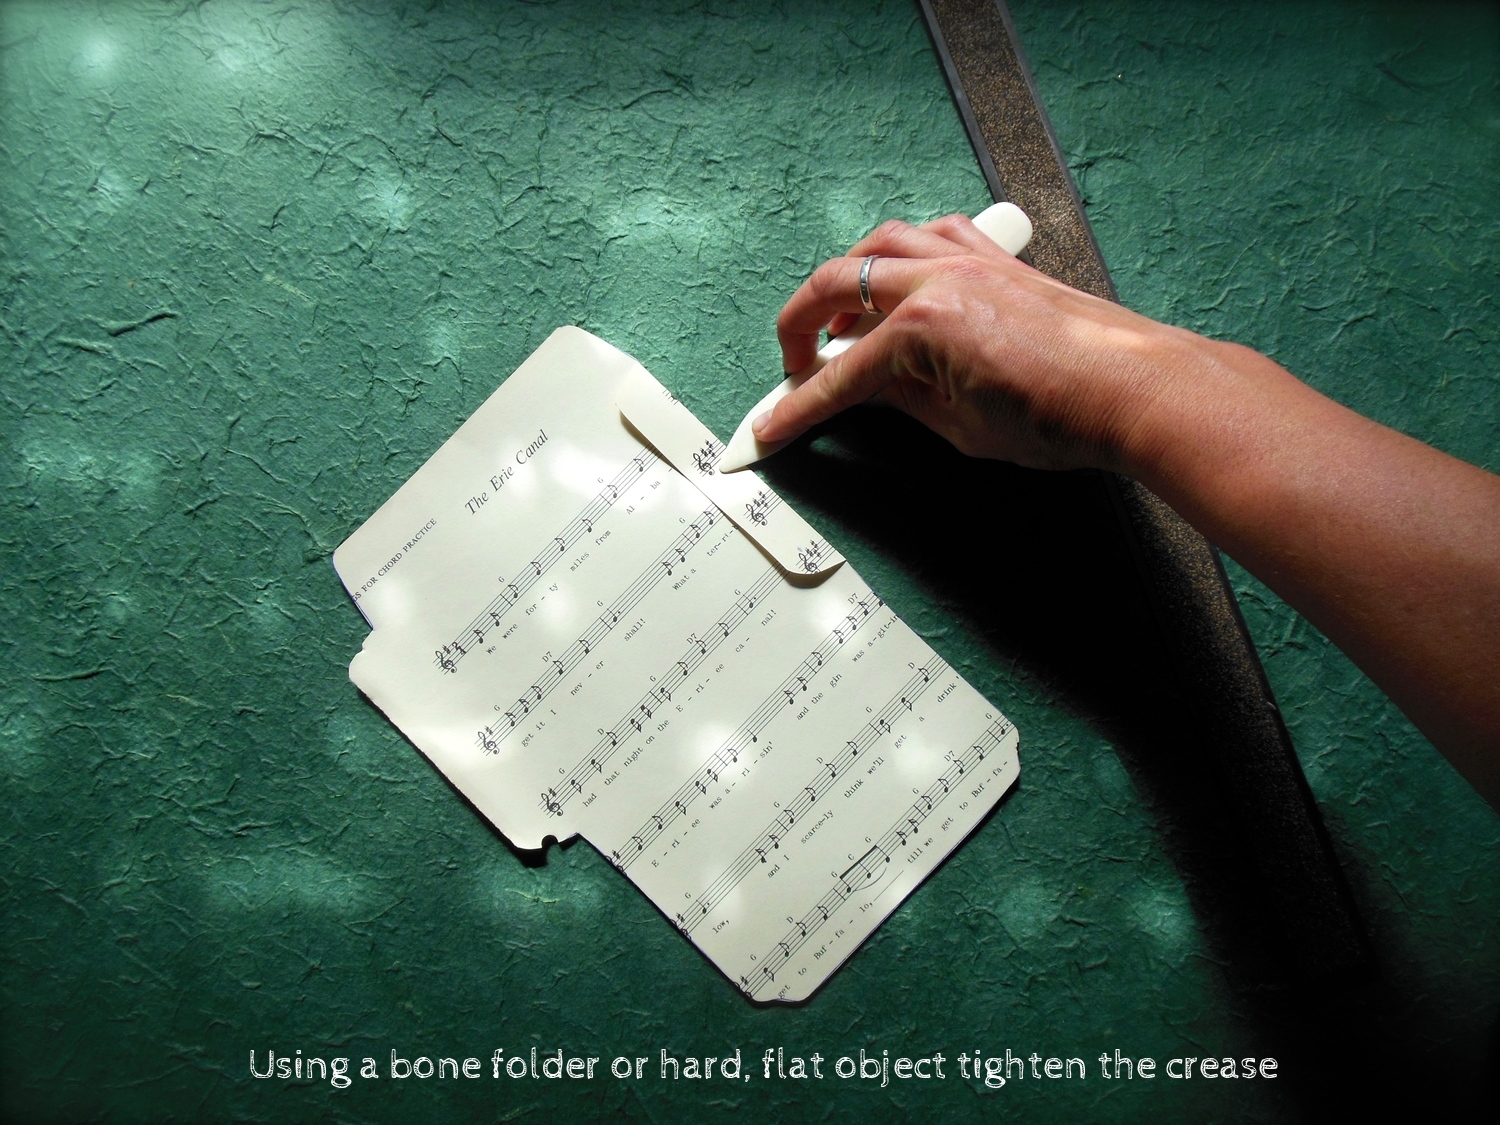
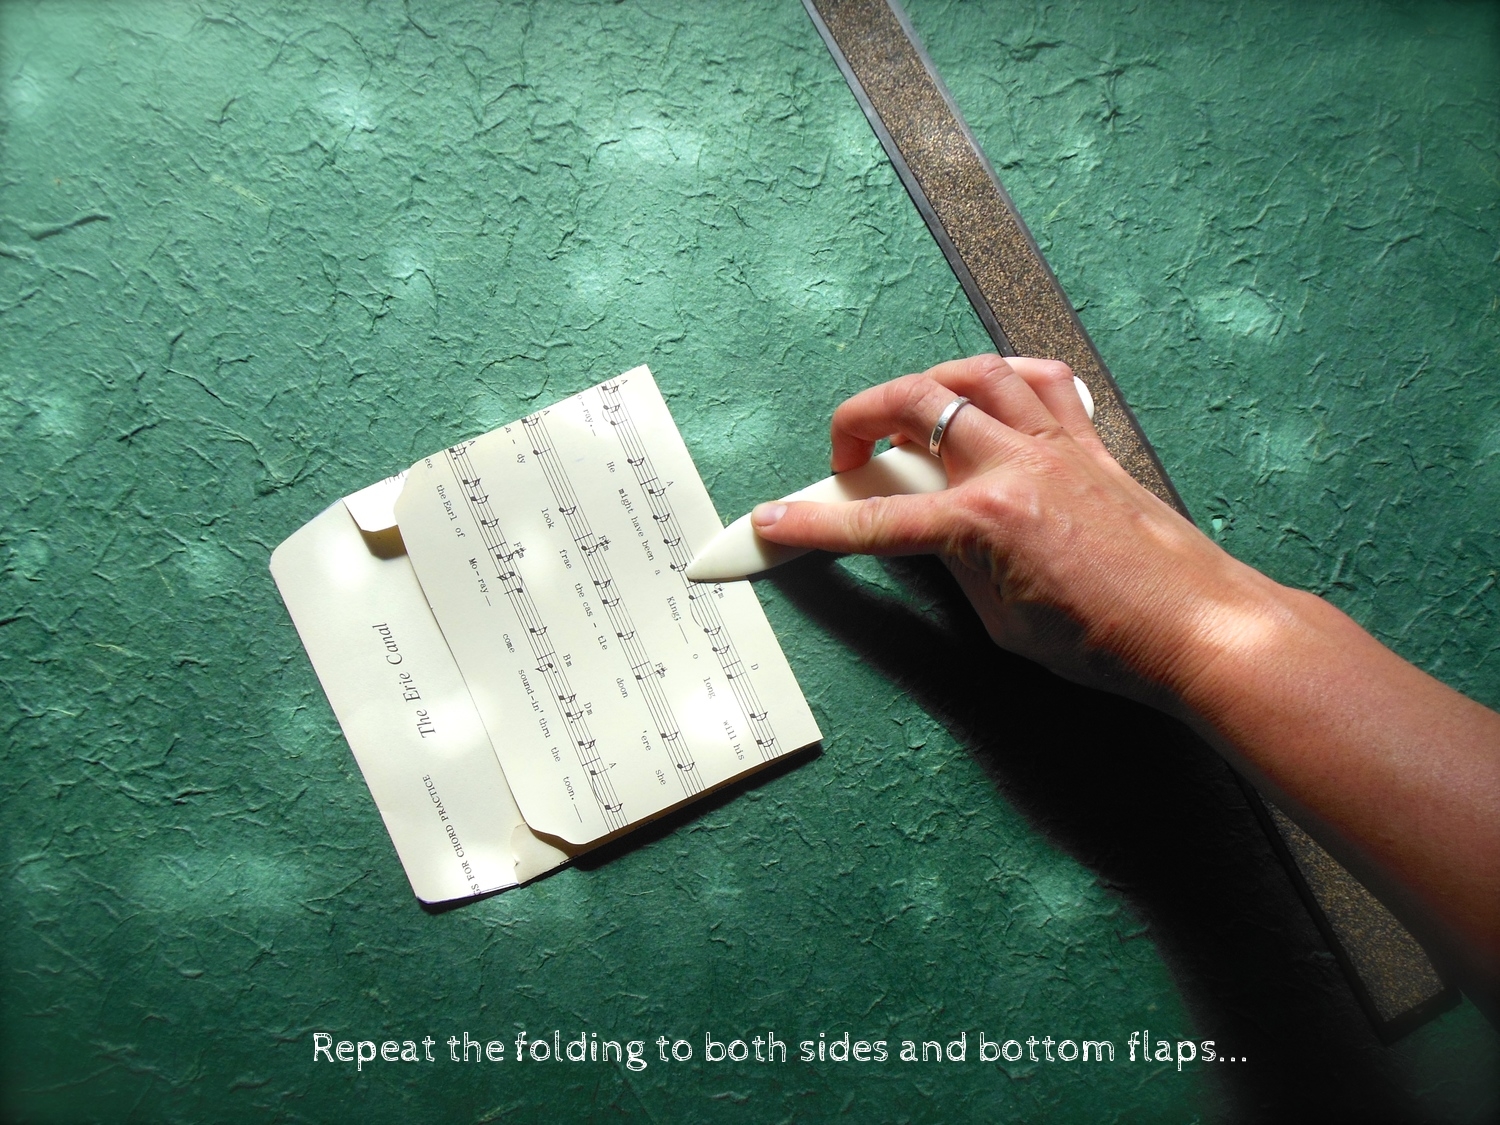
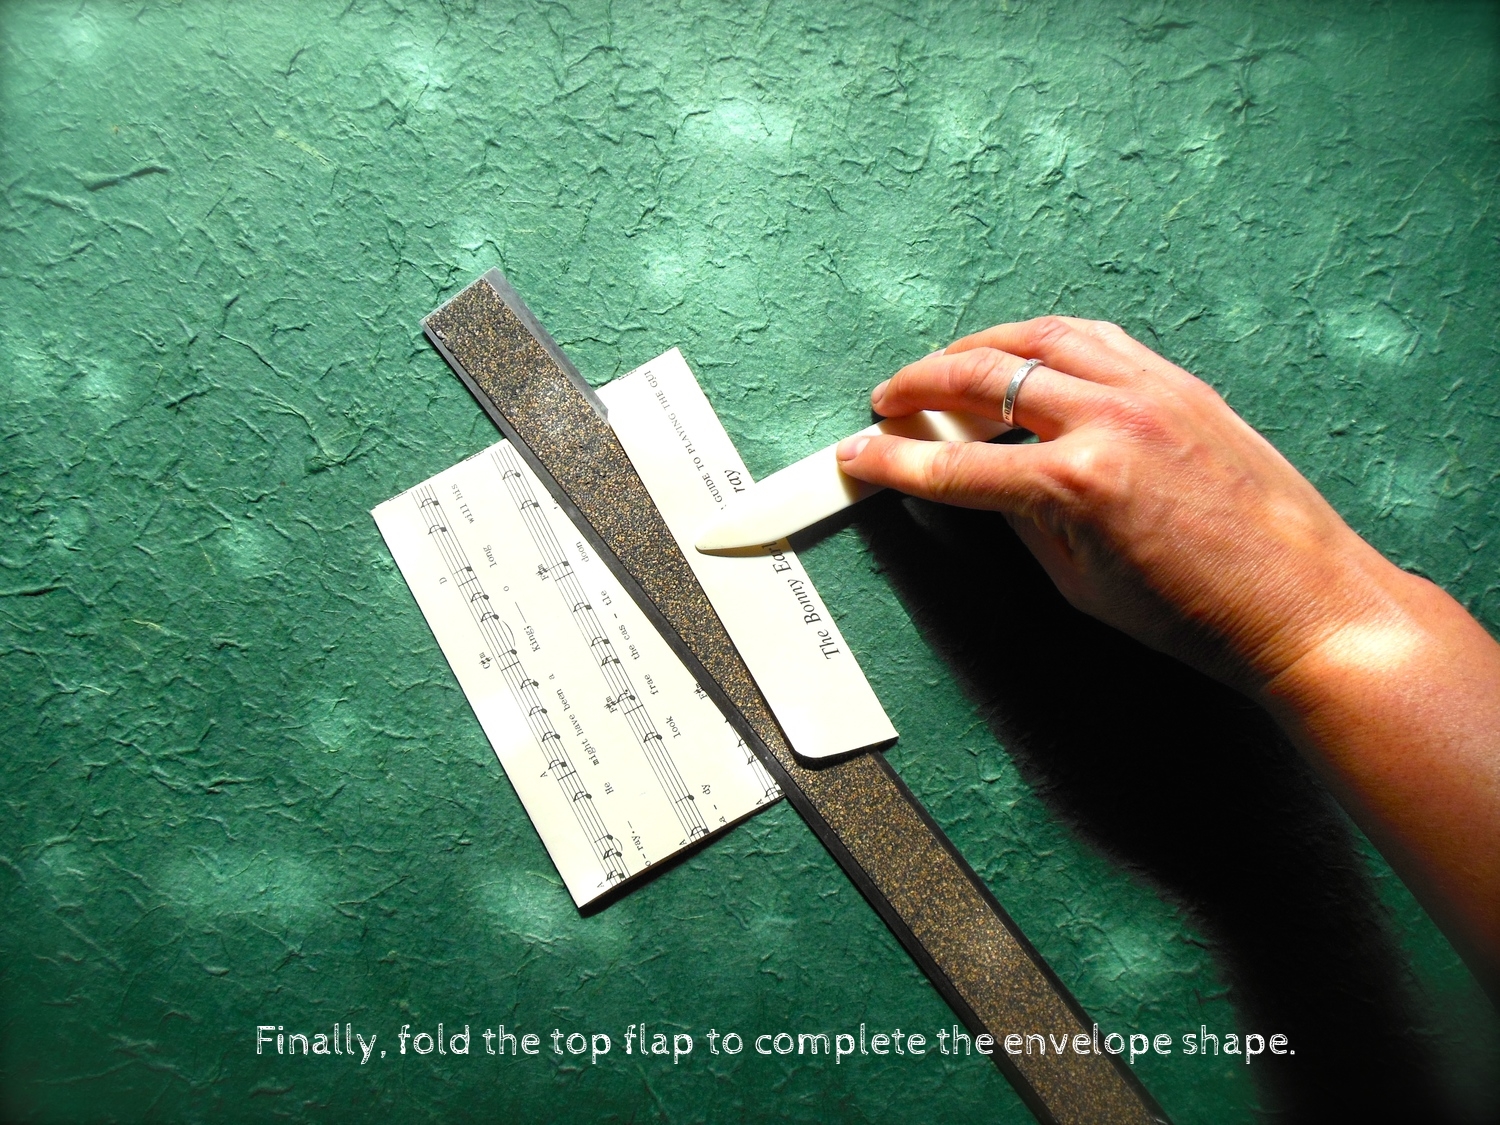
Now, with a straight edge, fold in the two small side flaps. Press down a nice and tight fold. I love my "bone" that i use for book binding, it gives a nice professional look. Repeat this fold and press to the bottom and top flaps as well.

Almost finished! Grab your glue stick and apply glue to the side flaps just as high as the bottom flap will reach.

With care, add glue to the flaps, turn over, and fold the bottom flap up.
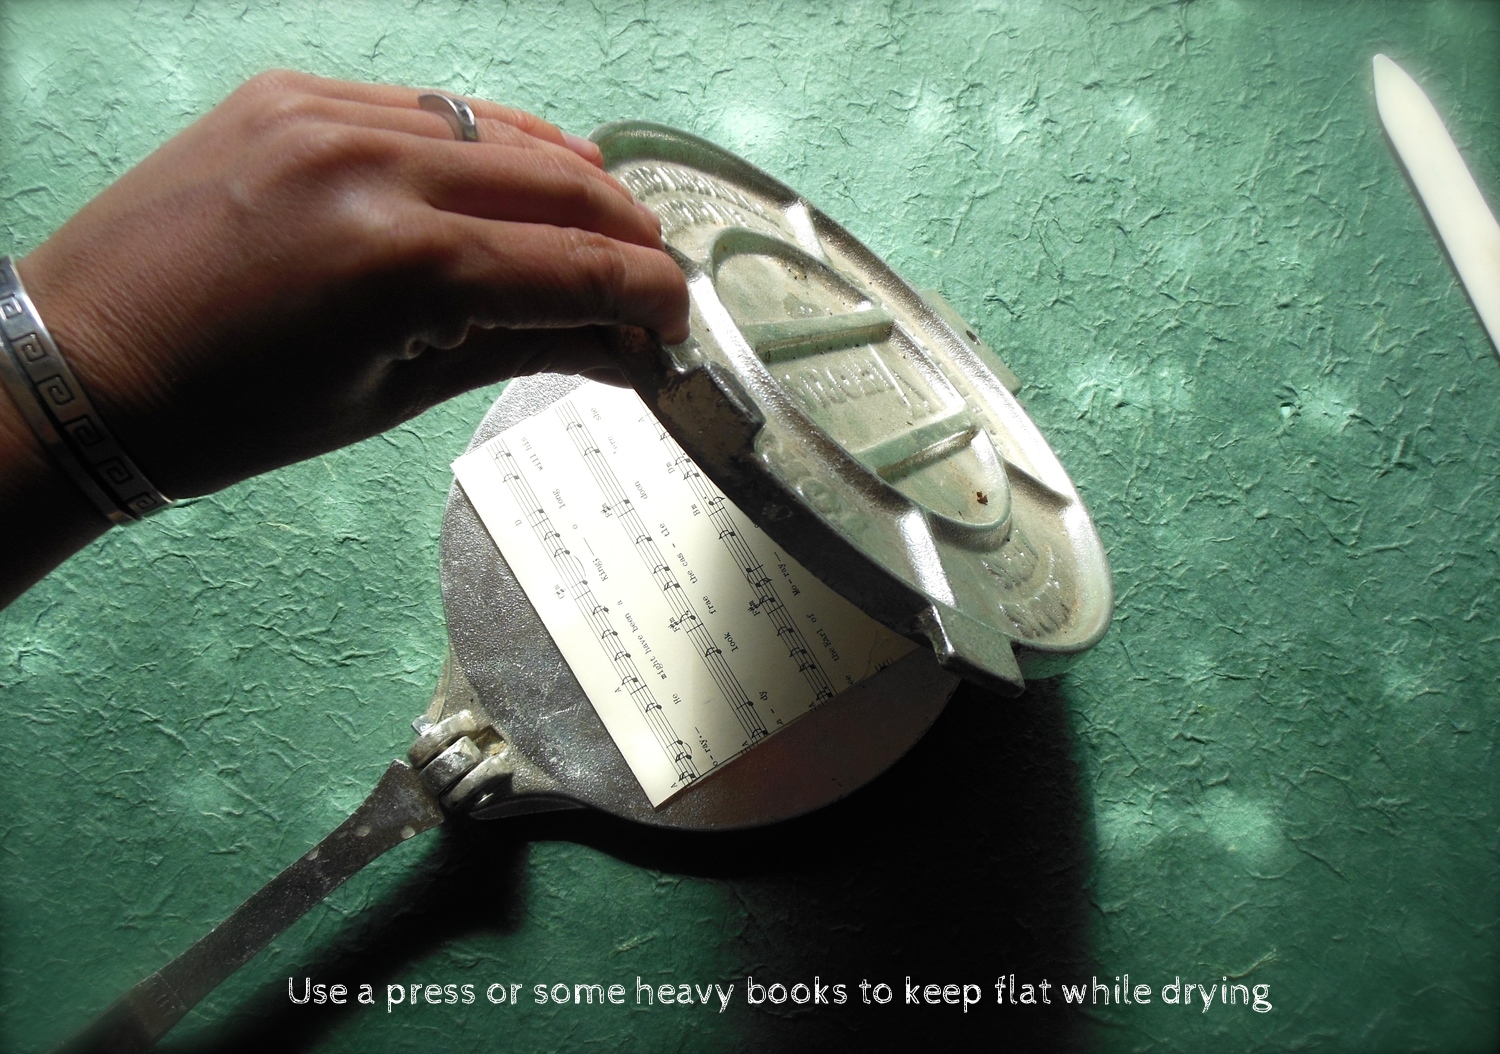
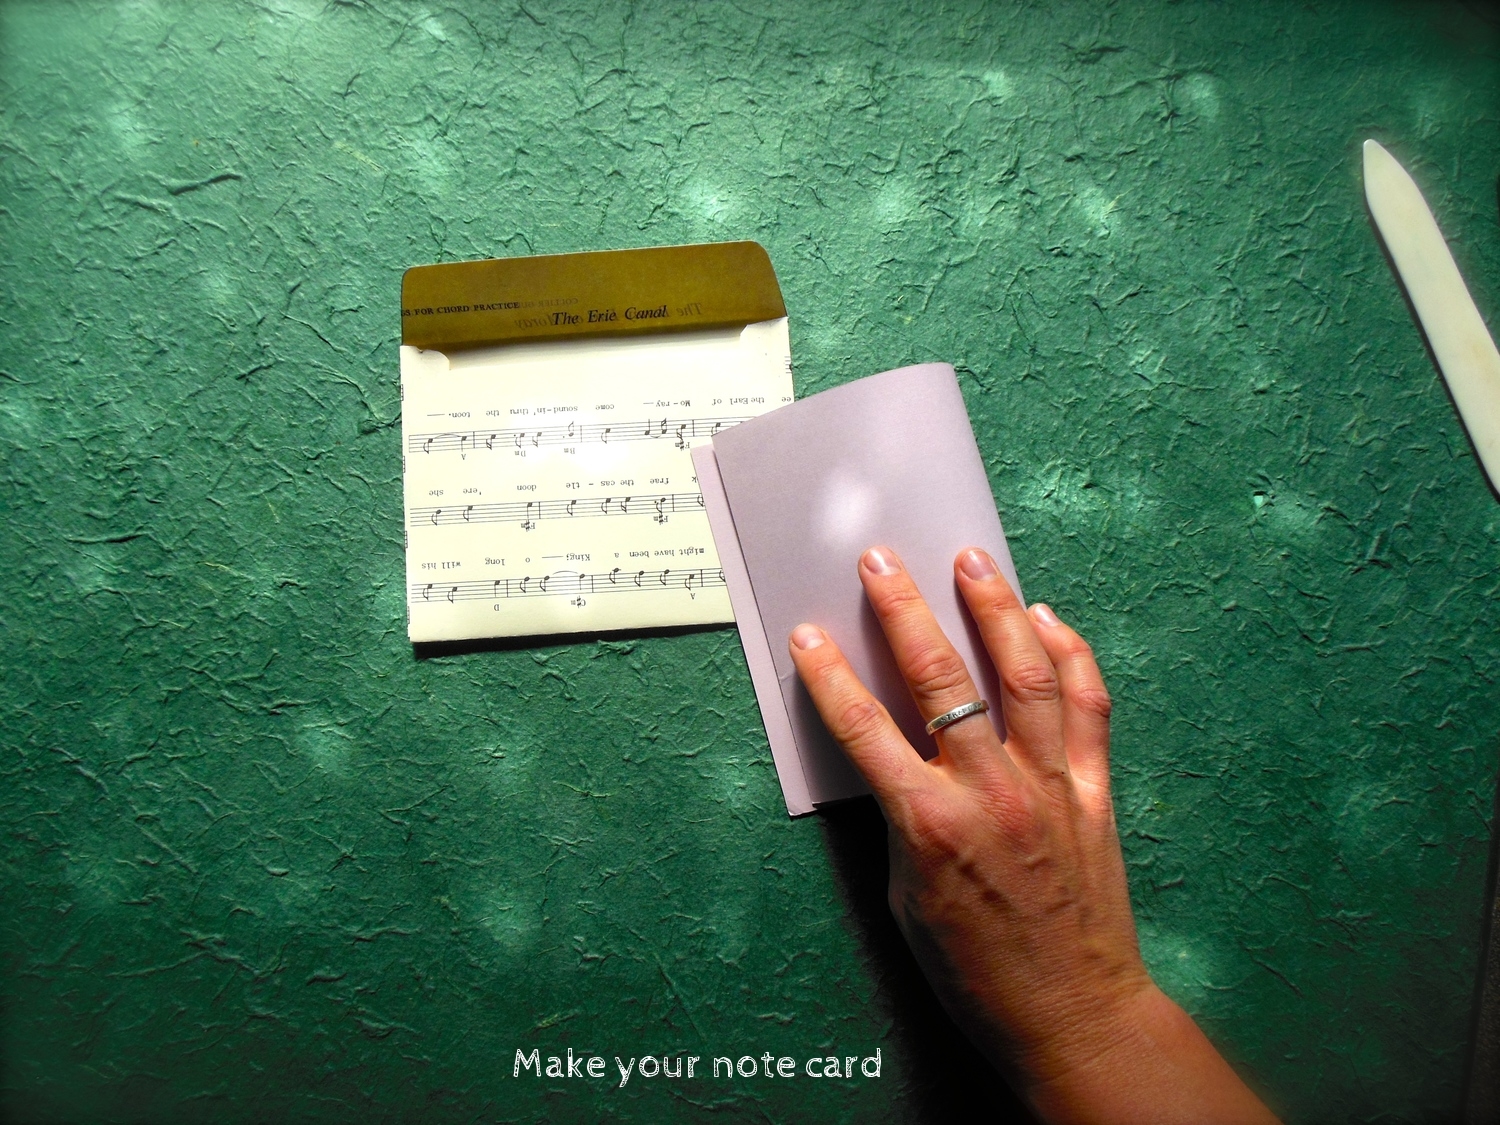
Finally, I use a tortilla press to keep the envelope in place as the glue dries. You can use some heavy books. Then it is time to make your card. Any scrap of nice paper will do! add your note and you're finished!